Name:
|
Nicole Atterberry
|
Student Number:
|
X00105576
|
GIMP:
Chapter 5: Selection
PART
1: READ Chapter 2 in the GIMP book, then:
- Answer
all questions below, briefly but completely.
- Change
the color of the answer to BLUE.
- Copy this information and paste
in a new post in your DIGITAL GRAPHICS blog.
1. Why are the GIMP Selection tools
important? It
allows you to choose an area of an image and either keep it, removing it from
the rest or just the opposite; remove an area of an image keeping only what
is left behind.
|
2.
What
is meant by the “marching ants”? Refers to the outlines around an area
selected in an image.
|
3.
Describe the following terms found
in the SELECT menu:
·
All: By using short-cut CTRL A you can select
the whole image or ALL.
·
None : By using short-cut CTRL SHIFT A, you can
make sure nothing or none, in image is selected.
·
Invert: This feature reverses selection, if it is
selected it will now be unselected.
·
Float: This feature allows you to cut out is
selected, leaving white or transparency behind in its place.
·
By Color: This feature switches you to the “select
by color tool.”
·
From Path: This feature converts the current path to
a selection.
·
Feather: This feature will make the edges of a selection appear
fuzzy.
·
Sharpen: This does the opposite of feather, making
fuzzy selection sharper.
·
Shrink and Grow: Allows you to adjust the selection, making it smaller
or larger.
·
Border: This will replace a selection with a new
one that follows the border of selection in which you can fill with a color, pattern,
etc.
·
Rounded Rectangle: This will
round the edges of a rectangular selection, giving you sharp rounded edges.
·
To Path: Will convert a selection to a path, which
you can edit using the Bezier paths tool to stroke it , or save it in a
vector graphic format.
|
4.
Why would you want to SELECT BY
COLOR? To
separate a foreground from a single background.
|
5. What is a BEZIER PATH? It outlines your object selected using control points
or anchor points/nodes , in which connect to create a path of your liking.
|
6.
What is the purpose of the
INTELLIGENT SCISSORS? Used like the path tool, it can detect the image and
create a more accurate selection for you.
|
7.
What is the purpose of the QUICK
MASK? This
allows you
to see your selection, not with ‘marching ants,’ however the selection will
appear normal while everything not selected will appear with a red
translucent mask.
|
8.
What is the purpose of LAYER MASKS? It is useful
for combining images; it represents the “alpha channel,” defining which parts
or layers will be visible.
|
9.
What is the purpose of SIOX? It allows you
to mark and remove areas of the foreground on selected areas of any image.
|
10.
When is using SIOX most effective? When you have
significant color differences against the background.
|
NOTE: For an excellent review of GIMP Selection tools, check out: http://www.quackit.com/web_graphics/gimp/tutorial/gimp_selection_tools.cfm
Scroll down the page to see an excellent
chart of the Selections tools.
|
PART 2: GIMP PROJECTS:
|
|
2.
Look through the menus on the left
to see the supplemental information provided for you about the book.
3.
Click on the PHOTOS FROM THE BOOK
link, and scroll down to see the images for Chapter 5.
4.
Download and save these images:
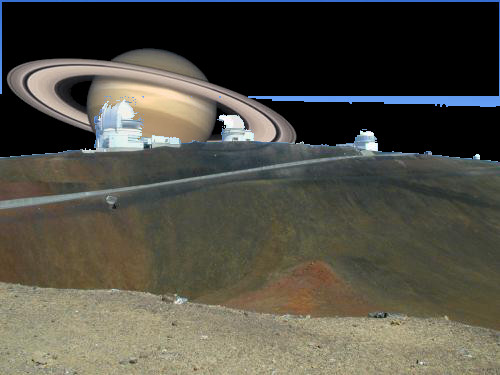
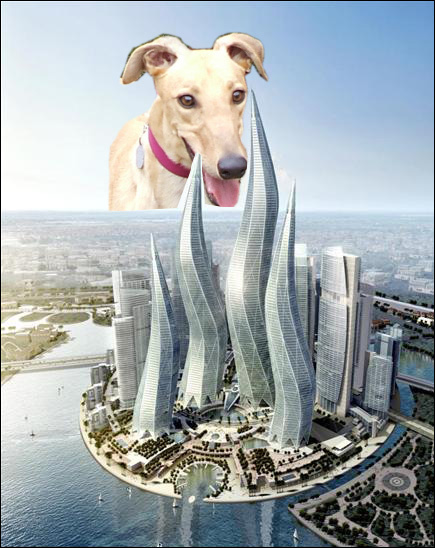
Montara plant (first image), Saturn, Audubon warbler (bird with tree
branches), Mauna Kea (telescope
building, image after bird images), dark pink flowers, and dog
5.
Using the appropriate images,
practice the SELECTION tools indicated on pages 164-212.
IMPORTANT NOTE: For many Selection tools, you must press ENTER after using the tool in order to actually
select the object.
6.
For each image, once you have
completed the selection using the indicated tool, copy the selection (CTRL-C) then create a new image (CTRL-N) and paste the selection into
the new image (CTRL-V).
7.
Save the new images you created from
each selection.
NOTE: For the Layer Mask image, save the combined image of the ostrich-giraffe.
8.
Insert all the new images here:
|
I tried again and got it! :)
|


No comments:
Post a Comment